The Uni Knot: Step-by-Step Guide for Lure Fishing
The Uni Knot is one of the most reliable and widely used fishing knots among lure anglers. Alongside the Palomar knot, it is considered a staple because of its strength, simplicity, and versatility. Whether you’re attaching a jig head, hook, swivel, or snap to your leader, the Uni Knot provides a strong, slim connection that performs exceptionally well with monofilament, fluorocarbon, and even braided lines.
For lure fishing techniques such as Texas rigs, Carolina rigs, free rigs, Ned rigs, or jig heads, the Uni Knot is often the go-to option. It is easy to learn, quick to tie on the bank or boat, and strong enough to handle hard strikes from predatory fish.
Below is a clear step-by-step guide to tying the Uni Knot, followed by when and why you should use it.
Step-by-Step: How to Tie the Uni Knot
Step 1: Thread the Line Through the Eye
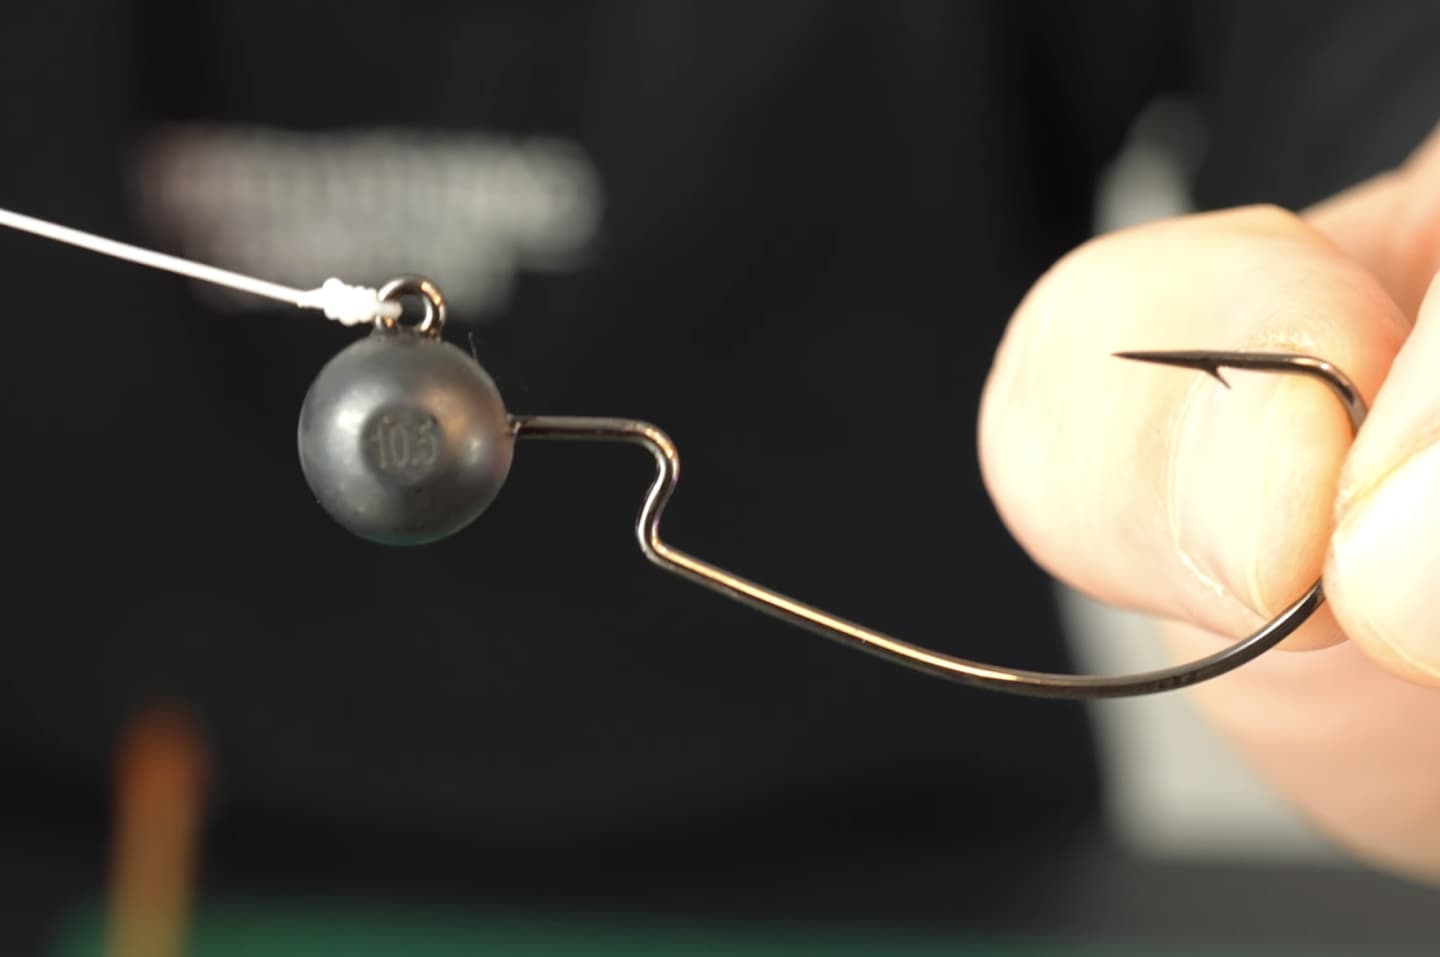
Start by passing the tag end of your fishing line through the eye of the hook, jig head, swivel, or snap.
Pull about 15–20 cm (6–8 inches) of line through so you have enough working line to tie the knot comfortably.
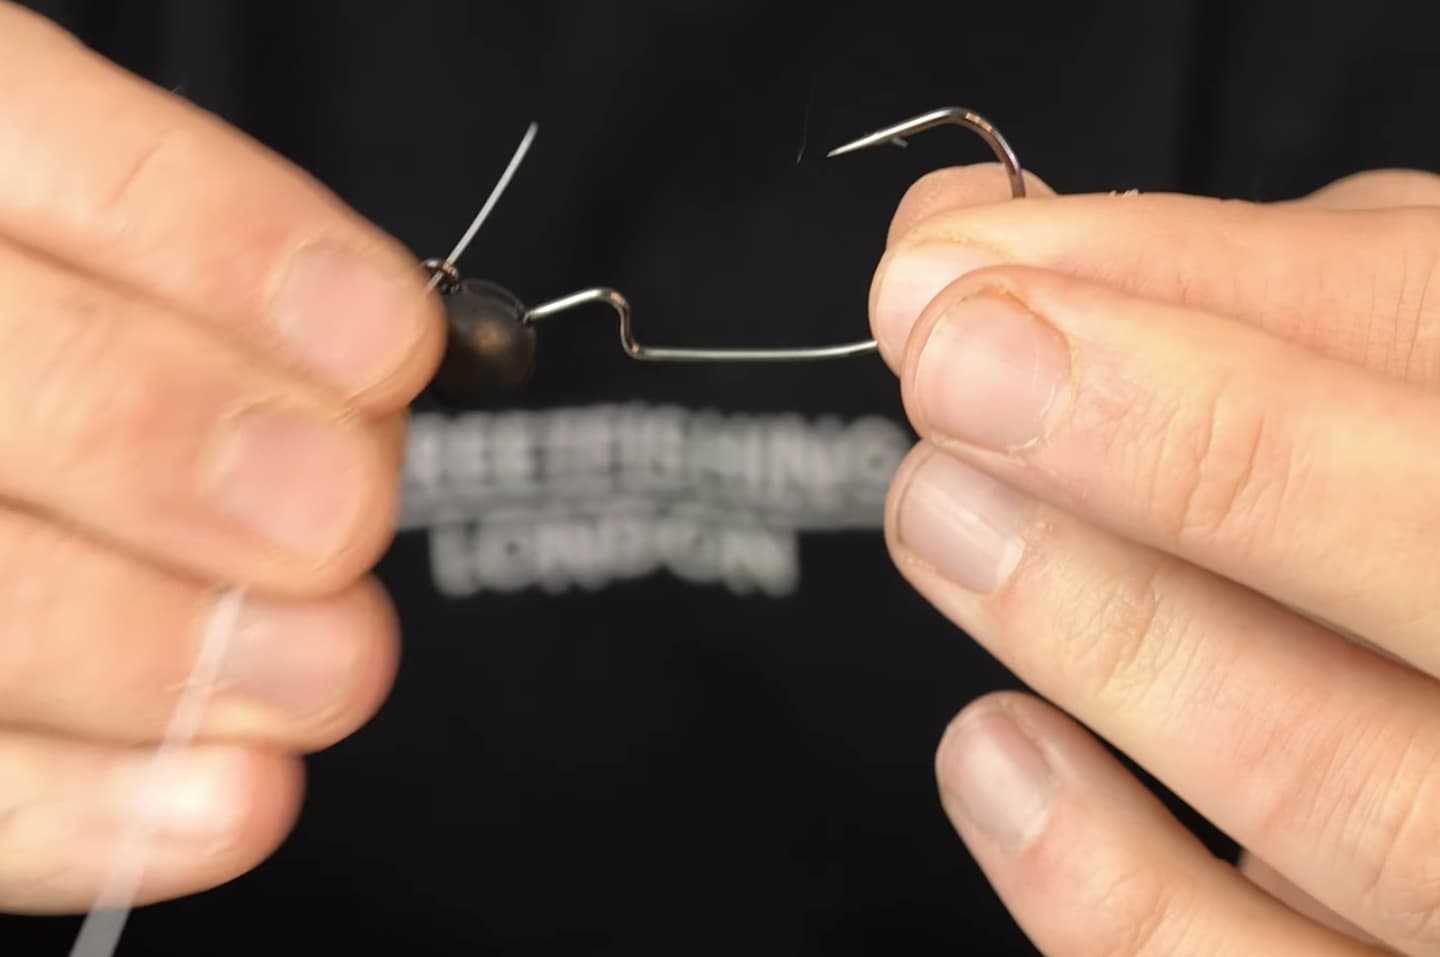
Step 2: Double Back Along the Main Line
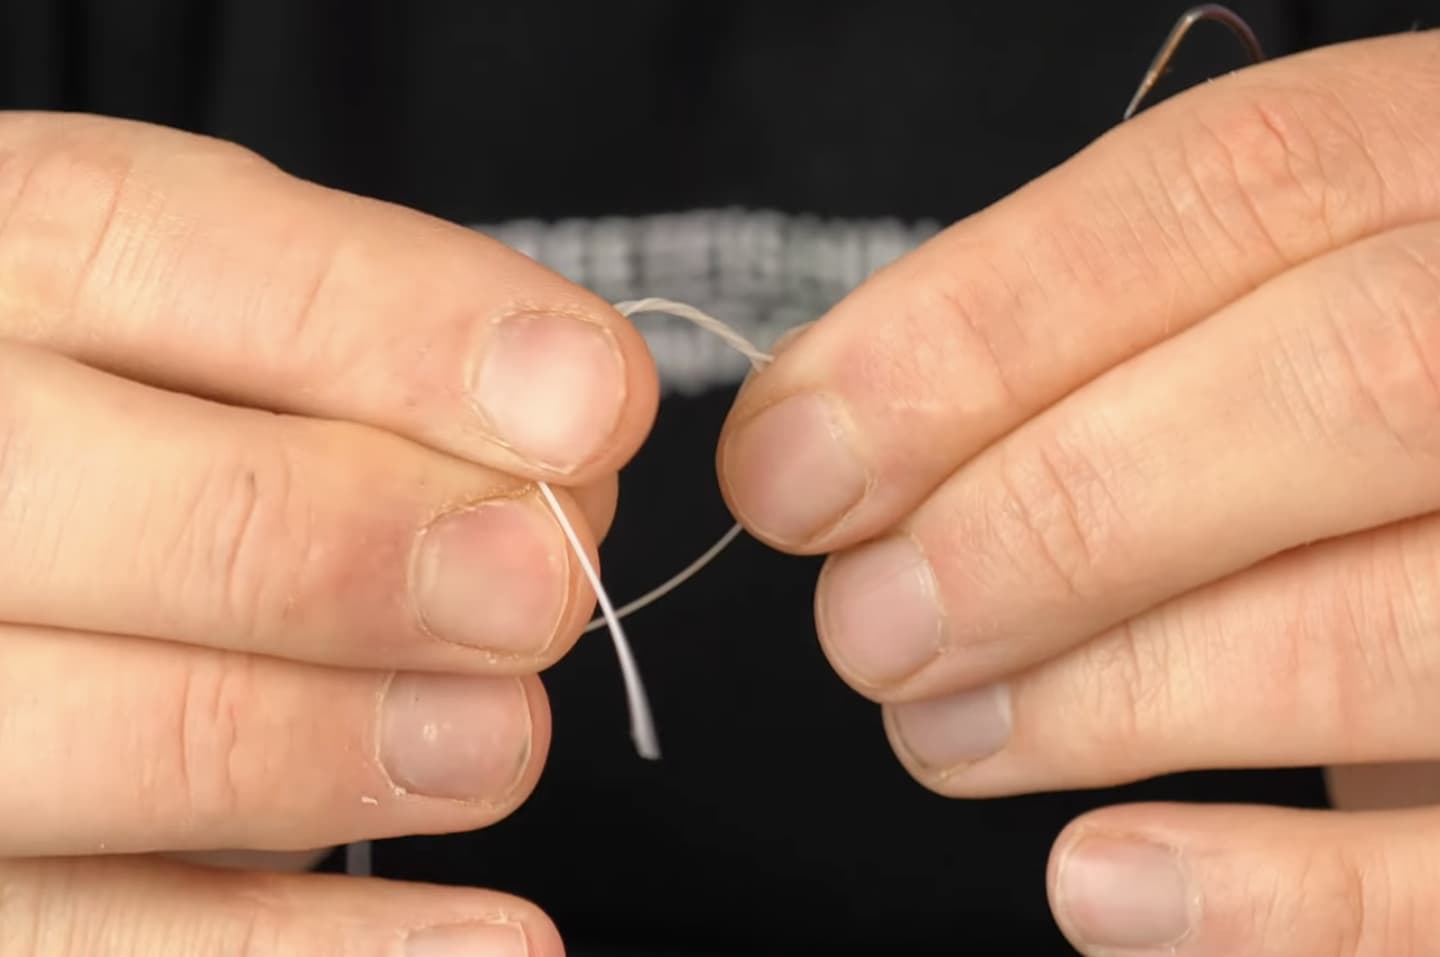
Take the tag end and bend it back toward the standing line, creating a loop alongside the main line.
You should now have the tag end laying parallel to the main line, forming a small loop between them.

Step 3: Wrap the Tag End Around the Mainline and the loop
Using the tag end, begin wrapping it around both the standing line and through the loop you created.
Make six turns around the lines.
- Thinner lines may need 5–7 wraps
- Heavier lines may only need 4–5 wraps
Ensure the coils sit neatly next to each other.
Step 4: Pull the Tag End to Form the Knot
Gently pull the tag end of the line.
This will cause the coils to tighten and form the Uni Knot around the standing line. At this stage the knot will still slide along the line.
Step 5: Moisten the Knot
Before tightening completely, moisten the knot with water or saliva.
This reduces friction and heat, helping the knot seat properly without damaging the line.

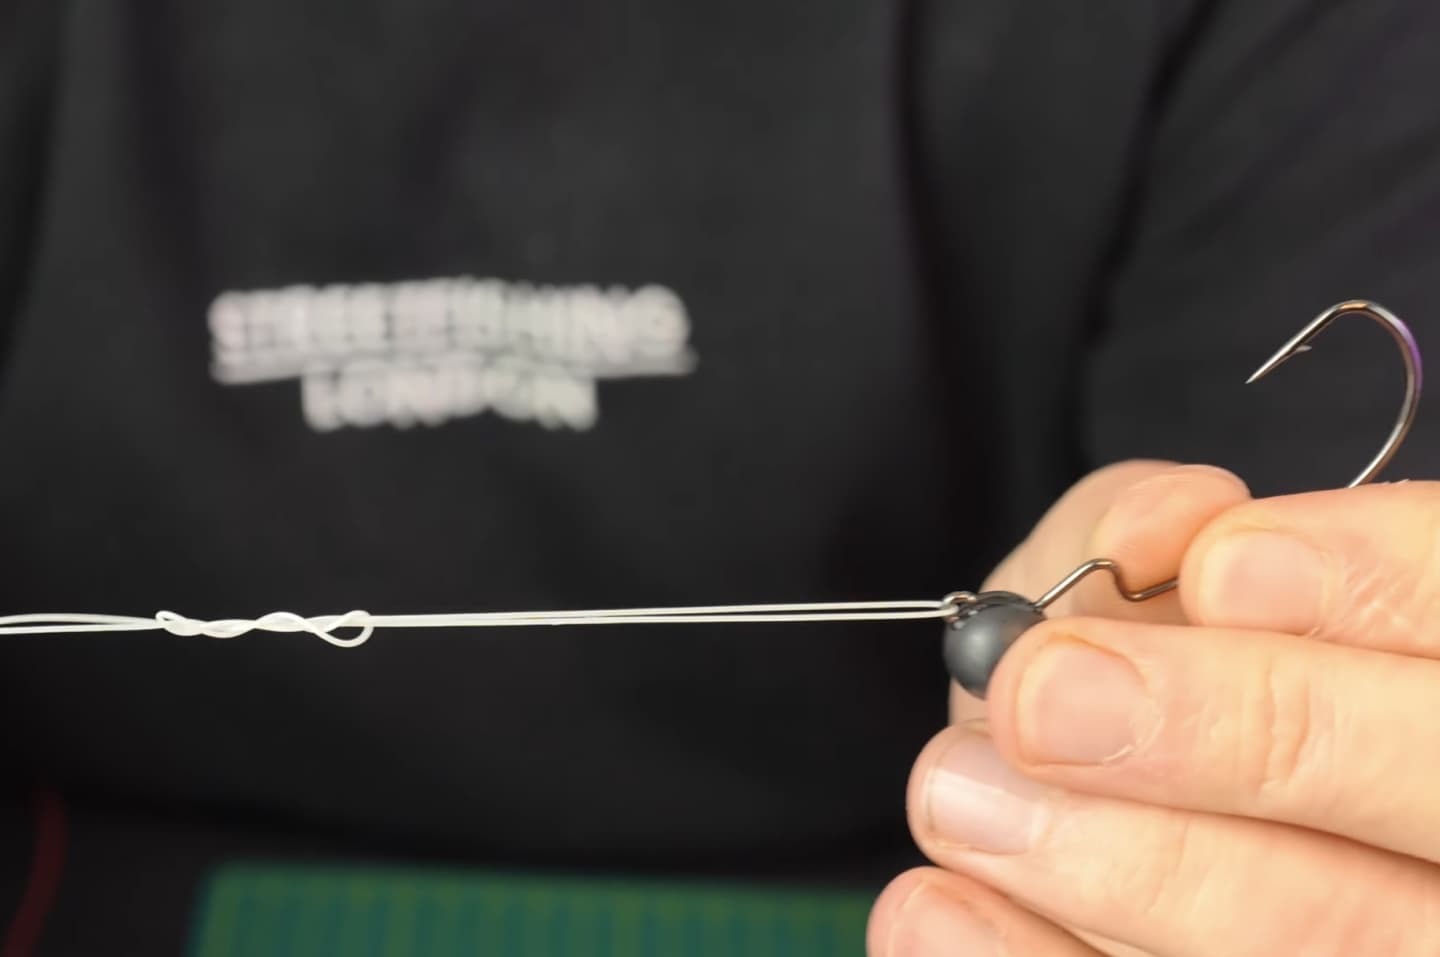
Step 6: Slide the Knot Down to the Eye
Pull the standing line while guiding the knot down toward the eye of the hook or lure.
The knot will slide neatly into place and tighten securely against the eye.

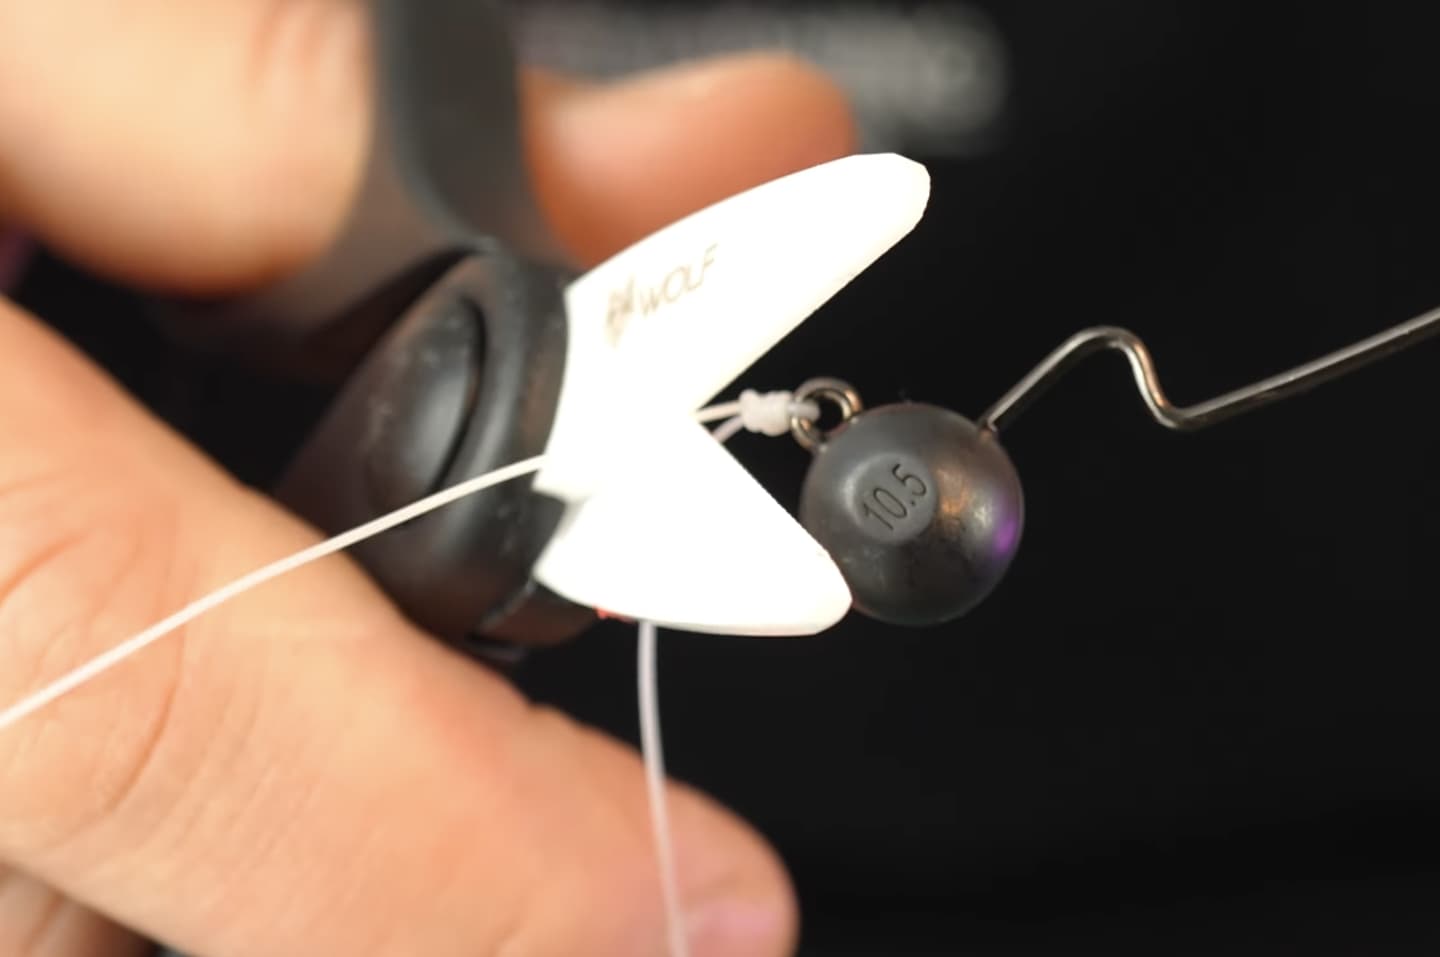
Step 7: Trim the Tag End
Once fully tightened, cut the tag end short.
For lure fishing, this is particularly important because the tag end will usually face in the direction of retrieve, meaning a short trim helps prevent picking up weed, debris, or algae.
Best Use Cases for the Uni Knot
The Uni Knot is extremely versatile and works well for many lure fishing setups, including:
- Jig heads (round jig heads, weedless jig heads)
- Ned rig heads
- Texas rigs
- Carolina rigs
- Free rigs
- Direct hook connections
- Swivels and snaps
Its slim profile and strength make it perfect for finesse presentations where a reliable connection is essential.
Many anglers also use the Uni Knot as part of a double Uni Knot for joining two lines together, making it even more versatile.

Conclusion
The Uni Knot is one of the most dependable knots every lure angler should know. It combines strength, simplicity, and versatility, making it ideal for attaching hooks, jig heads, swivels, and snaps directly to your leader.
Because it’s quick to tie and performs well across multiple line types and fishing techniques, the Uni Knot has earned its reputation as a must-know fishing knot. Once you practice it a few times, you’ll likely find it becoming your default knot for lure fishing setups.
If you’re looking to improve your lure fishing success, mastering the Uni Knot is an excellent place to start.